Sunday, August 22, 2010

Games Day 2010 Pics

Well, I hadn't planned to go to Games Day 2010, but I happened to win a ticket. Many thanks to Shelexie over at Wanna B Painter. At first I was going to give it to my son go so he could go with his friends, but I decided to go along. It was my first Games Day, and I'm glad I went along. It was a great experience. Next year's Games Day is in Chicago. I imagine that Games Day 2012 will be in Los Angeles. So it will be a while before I get another chance.

Below are some pictures I took. First some generic photos.

Waiting for the doors to open:
A very large Space Marine:

A Witch Hunter:
A Space Marine, the winner of the costume contest:
A Space Ork, not sure if this was an official costume or not:
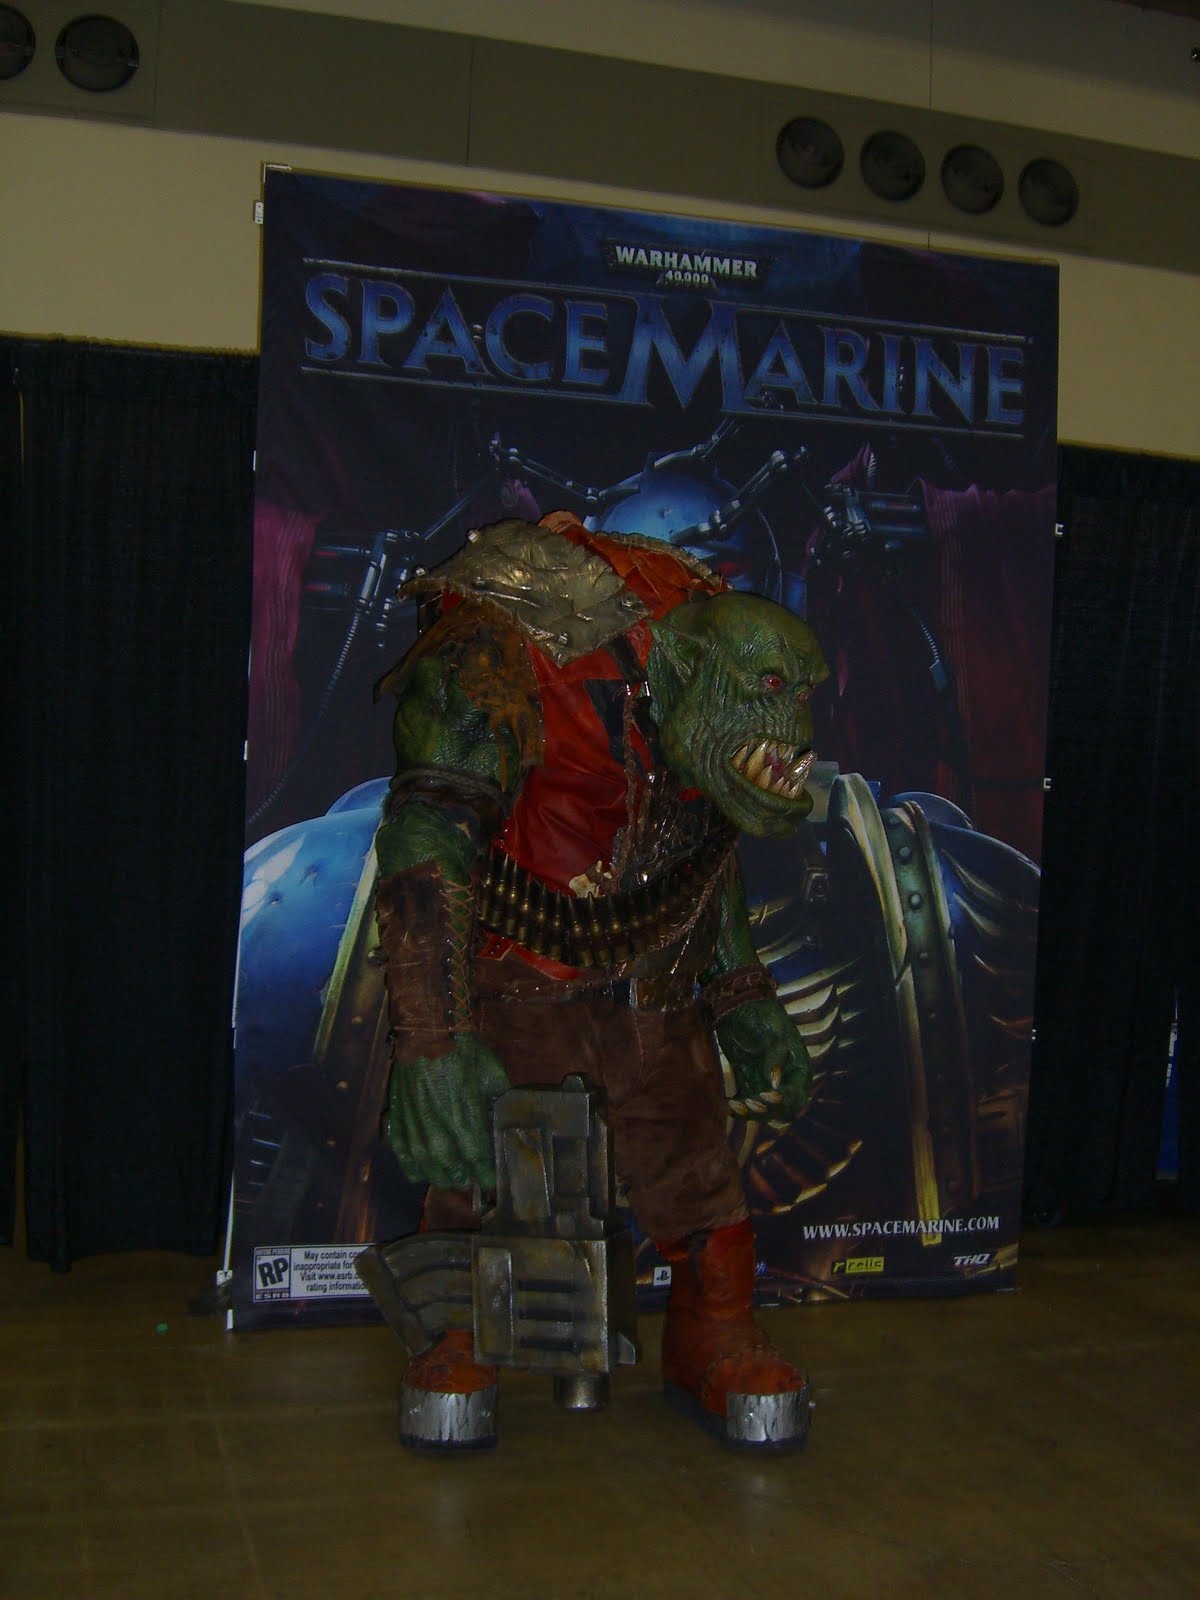
Regrettably, my camera was not doing too well in the hall, so many of the pictures I took didn't turn out very well. This was especially true at the Forge World display. I did however have decent luck at the Golden Daemons display. I couldn't get them all, as the glass cases were unkind to my flash. I'm pretty sure I have these right

First up is the LotR Golden Daemon:

This the the Young Blood winner:

40k 1st place vehicle:
40k second place vehicle:
40k third place vehicle:
40k first place squad:

40k second place squad:
40k third place squad:

40k Large Monster and Slayer Sword winning entry:

Sunday, August 8, 2010

Land Raider WIP

The next item on my Grey Knights list is a Land Raider. Frankly, I've wanted to build one of these for a while, and could hardly wait to get started. Painting the Dreadnought had to wait!

There's quite a few folks out there who, despite the fact the inside a vehicle/aircraft will seldom be seen, feel the need to paint it. This despite my paint pot procrastinating tendancies. Probably for the same reason the folks at GW put some time into detailing the inside. The Land Raider kit has nice detail, and I looked at it as a chance to play around with ideas.

The top picture is the engine compartment and a control panel. My favorite part is the brass fittings, which are done using a Tin Bitz base over light grey primer, overcoated with Burnished Gold and a Badab Black wash. The skull and gear icon was my first attempt at mirroring colors. I like the way it looks, and was looking for an excuse to try it.

Next is a picture of the sides. Here was an experiment in yellow using VMC Light Yellow and Gryphonne Sepia wash. I'm wondering if I got a bad batch of Gryphonne Sepia, as it comes out of the pot looking orangish. I imagined it as something much more yellow. Also here is a failed experiment with highlighting the edges, probably not going to use that much again.

I do have some Forgeword Grey Knight doors for this. I got the Land Raider, including the doors, in a good deal on Ebay, still much cheaper than what a Land Raider would cost in a store. Timing is everything. Here is the inside of the front, top hatch. Very happy with the colors, and am actually looking forward to having some red on the outside as well. After looking at this picture, I touch up some spots I had missed. May have to take pictures of everything from now on...

An odd part about the side doors is that they were too small. I'm not sure if that is the case with all FW Land Raider doors. If I had bought these direct from FW, I would have called about the problem. One bad thing about buying second hand, you can't take advantage of FW customer service. It's a relatively easy fix. I glued thin strips of plasticard around the outside, filed away any overlap, so it should be unnoticable after a good priming. Fix is on the left here, next to the other door still needing to be done.

Thursday, August 5, 2010

Poseable Action Dreadnought

I found another fun thing to do with magnets. I honestly don't know what inspired me for this particular magnet idea. Perhaps I was just looking for a way to paint pot procrastinate. Perhaps I just had magnets on my mind. Regardless, I thought I'd share the fun.

I started putting together a Dreadnought for my growing Grey Knight army. I got a great deal on an unfinished standard Dread and some extra arms (see my last two posts about arms). As I was putting it together, I noticed there was enough gap in the waste to place a magnet or two. Since the magnets would have to reach through two thick plastic sections, I wasn't sure how many I'd need. So, I just put one of every size round one I had.

In order to make this work, I figured the other magnet needed to be loose inside the sarcophagus. The only issue I had was trying to use small magnets. There are two metal pins in my dread. One holding on the head, and one the smoke launchers. Every small magnet I used would stick to one of these pins. It would stick so well I'd have to shake it loose every time, which I didn't want to do. So, I tossed in a big square magnet leftover from a batch bought for some long forgotten project. While it still sticks to the pins when the dread top is not touching the bottom, the pull between to two magnets is strong enough to pull them together when they're close enough.

The actual design does limit its "poseability," but it was still a fun experiment with magnets. Another advantage, given all the nooks and crannies of the legs, is that it will be easier to paint in two sections. This is why the leg armor isn't attached yet. Well, I actually had them on and realized I wouldn't be able to paint behind them very well. They'll be added later. The armor is from the Dark Angels sprue, with a poor attempt at a GS book.

The front of the sarcophagus actually keeps it from spinning all the way around. With the magnets though, it can easily be made to look backward, should something attack from behind. Here's some views of the "poseable" range.
Right:


Left:


Up:


Down:

Wednesday, August 4, 2010

Another Dreadnought Arm Conversion

So, of all the extra Dreadnought arms I had, one of my favorite weapons was missing; the plasma cannon. I had a SM Devastator plasma cannon left from a previous bitz buy. I've had success converting one to use on a Sentinel, so it made perfect sense to use it here. This is the finished product.

I started with an extra Assault on Black Reach Multi-Melta arm like this one. First thing to do is cut off the front weapon parts and the cables underneath. I also decided to remove the fuel canister tips from the back end.

I had to add a bit of plastic to the bottom cutout, as I hadn't accounted for the part where the wires enter the backpack. I cut the backpack part to fit in the bottom cutout, figured out how to make the original large cable fit the gap, and used a piece of electrical wire to replace the original smaller cable. I also added a few bits to break up the flatness of the back.

Like the sentinel conversion, I would probably have saved a lot of time by buying the Venerable Dreadnought Plasma Cannon arm bits. Whether I really did it because I enjoy converting, or just to avoid the paint pots, it was a fun diversion.